

Blogs: Setting up WP-Hide
Harnessing the Full Potential of WP Hide: Elevate Your Website’s Privacy, Security, and User Experience.

Let’s simplify the plugin name to “WP-Hide” for convenience. Begin by running a basic setup of WP-Hide.
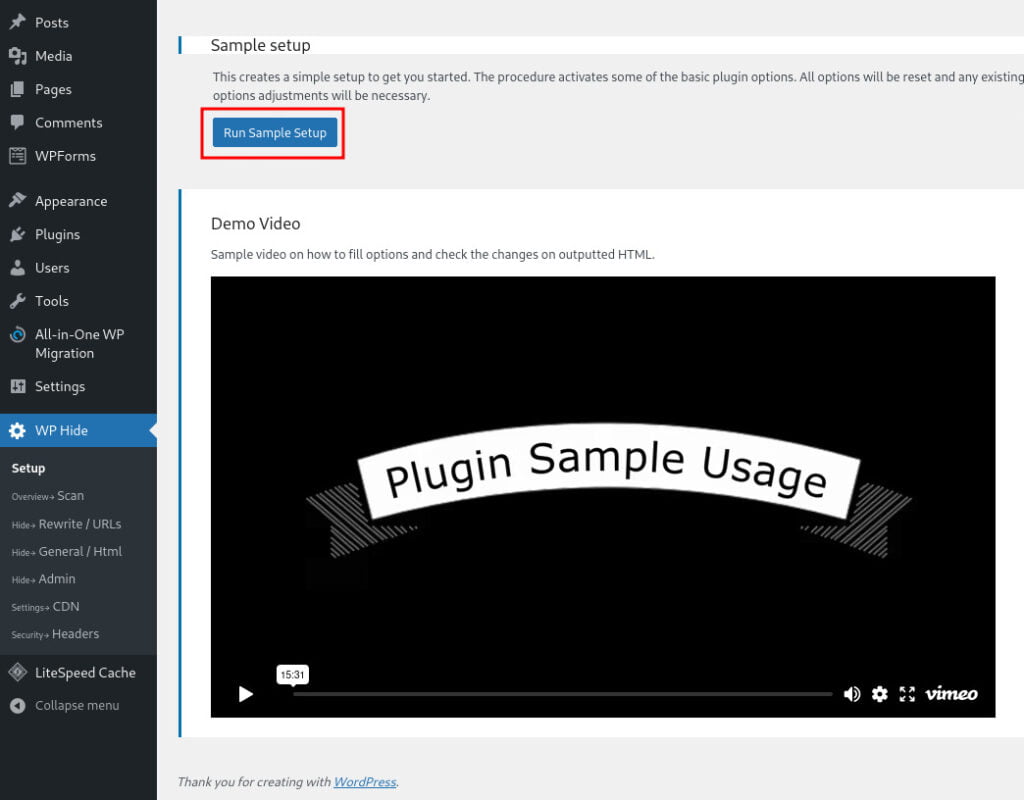
With the completion of the automatic basic setup, you have taken a step towards enhancing your website’s security. The modifications made by WP-Hide, such as altering WordPress identifiers, modifying URLs, and customizing file structures, contribute to a slightly improved security posture for your WordPress site.
It’s time to perform some manual configurations to further enhance the concealment of your WordPress site. As part of the basic setup, WP-Hide automatically hides the following directories:
- – wp-content
- – wp-includes
- – wp-content/themes/[Theme Name]
- – wp-content/plugins
- – wp-content/uploads
- – wp-comments-post.php
These hidden directories and files help minimize the exposure of sensitive information and discourage potential attackers from easily identifying your WordPress installation.
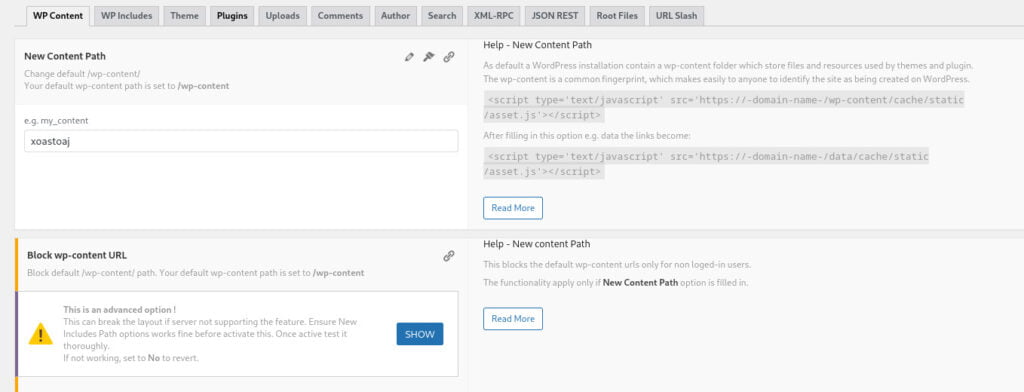
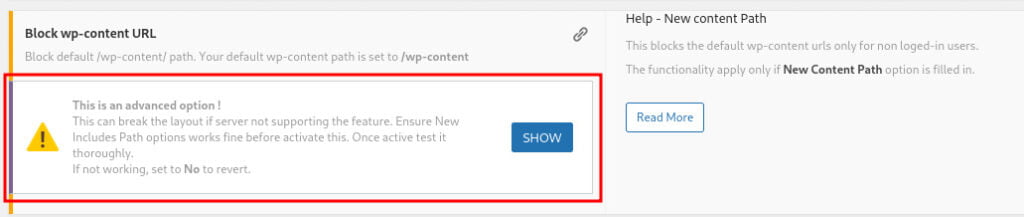
The underlying method employed in the previous step involves adding a .htaccess rule to rewrite the URL structure. However, it’s important to note that in the basic setup, the original directory/URL names (such as wp-content) are retained. To further block access to these original directories/URLs and reinforce the concealment, you can press “SHOW” and select yes.
and select “yes” and then press “ENTER” to apply it.

- – license.txt
- – readme.txt
- – wp-activate.txt
- – wp-signup.php (block if user sign-ups are not intended)
- – wp-register.php (block if user registrations are not intended)
- – other wp-*.php files – wp-cron.php (block if remote calls to this file are not needed)
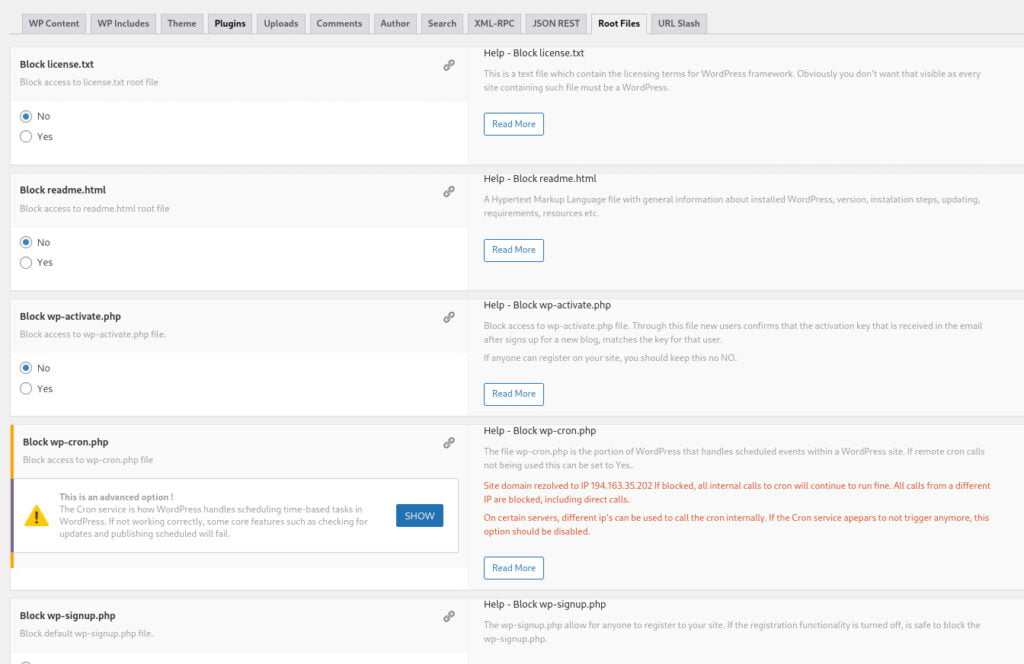
Additionally, you can utilize the “URL Slash” tab to automatically add a trailing “/” to each URL, helping to disguise the existence of the files.
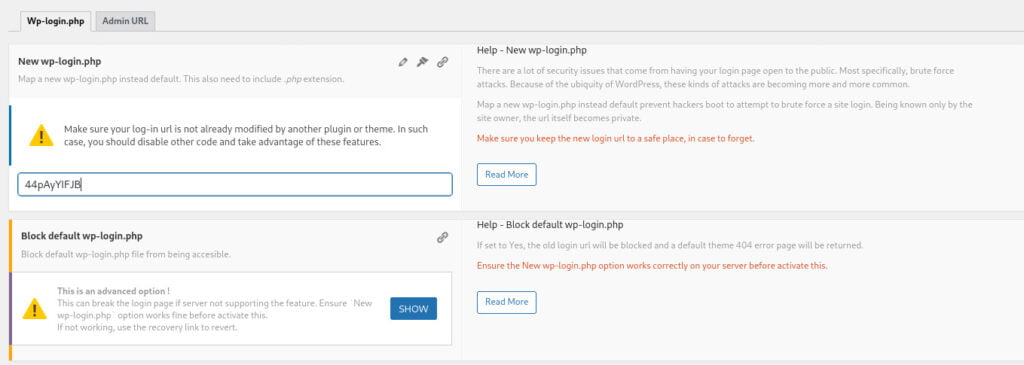
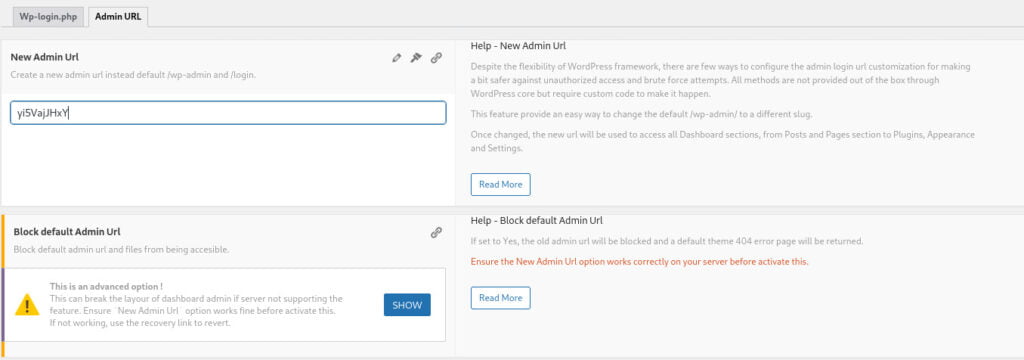
To enhance security, it is crucial to rename the commonly known WordPress admin access files, namely /wp-login.php and /wp-admin. However, when renaming these files, it is essential to remember the new file names; otherwise, you may inadvertently lock yourself out of the admin panel. Exercise caution while renaming and ensure you keep track of the new file names to maintain access to the admin panel.
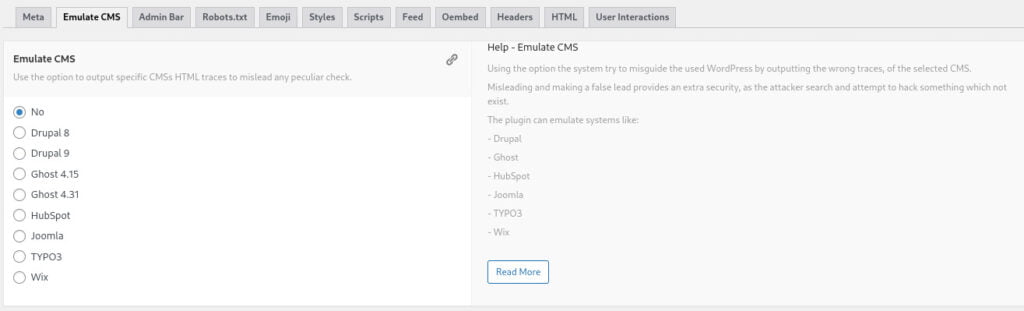
Within the “General/HTML” section of WP-Hide, you will find several tabs that enable you to obfuscate various aspects of WordPress. Among these tabs, the “Meta” tab contains two crucial sections:
1. “Remove WordPress Generator Meta”: By selecting “Yes” in this section, you can effectively hide the WordPress version from being displayed in the generated HTML source code. This helps to obscure the specific version of WordPress you are using, making it more challenging for potential attackers to exploit known vulnerabilities.
2. “Remove Other Generator Meta”: Similarly, selecting “Yes” in this section enables the removal of generator meta tags associated with themes and plugins. This ensures that the version information of your theme and other installed plugins remains hidden, further enhancing the concealment of your website’s underlying components.
By utilizing these options, you can effectively conceal crucial information, such as the WordPress version and theme version, from being readily accessible to external parties, thus improving the overall security posture of your WordPress site.
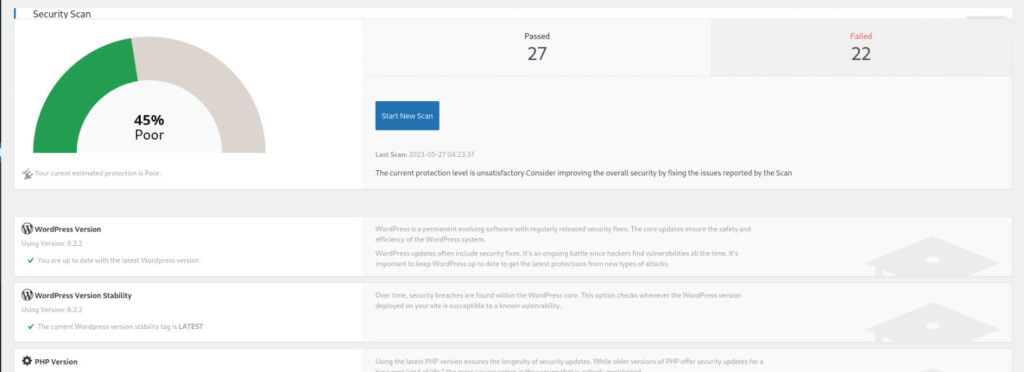
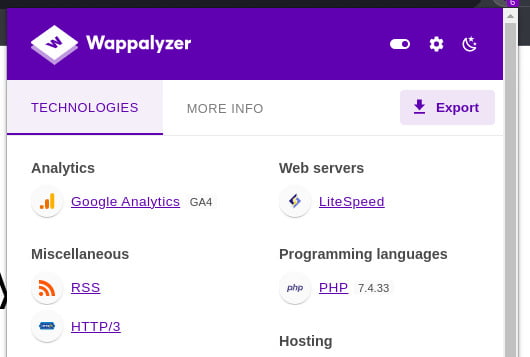
After implementing the various measures to hide WordPress using WP-Hide, performing a wpscan, a popular tool for WordPress vulnerability scanning, will reveal the effectiveness of your concealment efforts. The successful outcome of the scan will indicate that you have done a commendable job in concealing the presence of WordPress on your website, reducing the visibility of potential vulnerabilities and making it more challenging for attackers to exploit known WordPress-related issues.

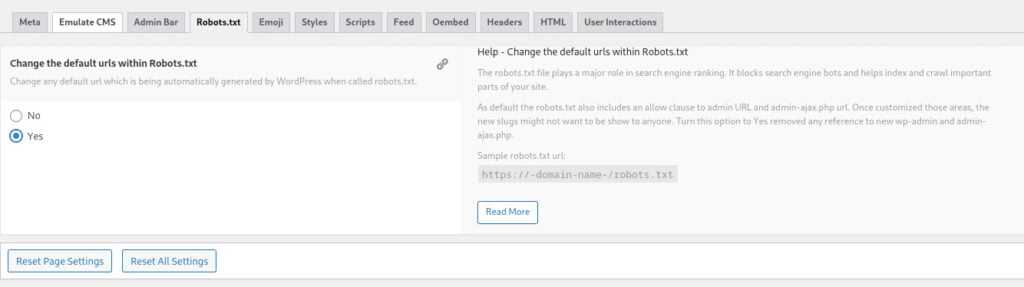
It is indeed wise to disallow access to admin pages in the robots.txt file to prevent search engine crawlers and other bots from visiting those URLs. By disallowing the admin pages in the robots.txt file, you add an extra layer of security by preventing unauthorized access to sensitive areas of your website. Ensure that you carefully configure the robots.txt file to disallow access to relevant admin pages while still allowing access to necessary areas for proper indexing and crawling by search engines.
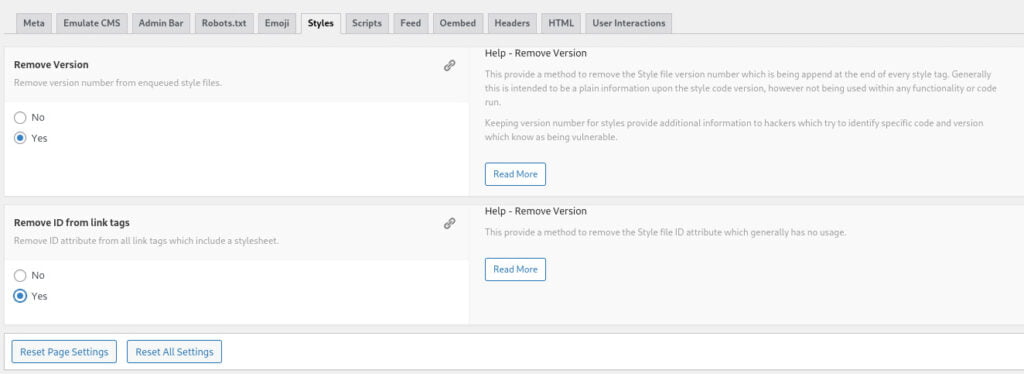
Removing the style version from style files is a recommended practice to further enhance the security of your WordPress site. While the style version included in these files typically has no functional significance, it can provide valuable information to potential malicious actors. By removing the style version, you minimize the exposure of such information and reduce the risk of targeted attacks or exploits that rely on specific versions.
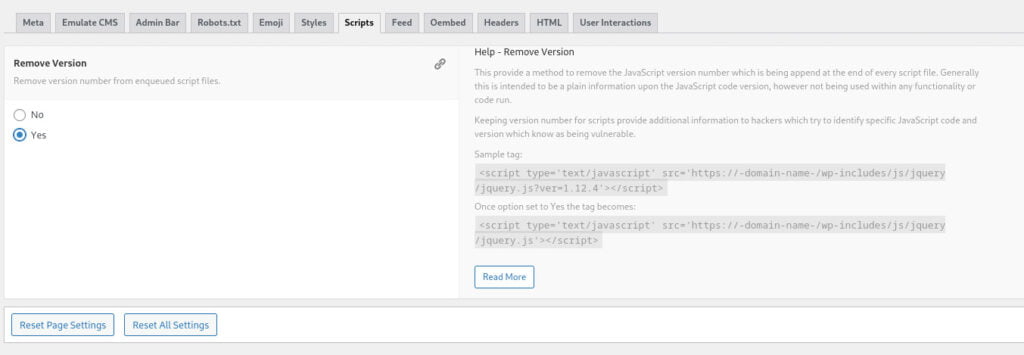
Removing the JavaScript version that is being used from the files is a prudent measure to bolster the security of your WordPress site. Just like the style version, the JavaScript version number can be leveraged by malicious actors to identify and exploit known vulnerabilities associated with specific versions. By eliminating the JavaScript version information from your files, you reduce the risk of targeted attacks and make it more difficult for potential attackers to exploit any known vulnerabilities.
If desired, you have the option to disable user interactions to provide an additional layer of control over your website’s content. Some of the user interaction options you can consider disabling include:
1. Mouse Right Click: Disabling the right-click functionality prevents users from accessing the context menu, which may help discourage unauthorized copying or inspecting of your website’s content.
2. Text Selection: By disabling text selection, you prevent users from easily highlighting and copying the text on your website, making it more challenging for them to extract or duplicate your content.
3. Copy/Paste: Disabling copy and paste functionality further restricts users from copying content directly from your website, adding an extra layer of protection against content theft.
4. Print Dialogue: Disabling the print dialogue option can prevent users from easily printing your website’s pages, helping to control the distribution of your content.
5. Print Screen: Disabling the print screen functionality attempts to prevent users from taking screenshots of your website’s content, limiting their ability to capture and replicate it.
6. Developer Tools: Disabling developer tools access inhibits users from inspecting or modifying your website’s source code through browser developer tools, providing additional protection against unauthorized modifications.
7. Source View: Disabling the source view functionality prevents users from viewing the HTML source code of your website, making it more challenging for them to analyze its structure or identify vulnerabilities.
8. Drag/Drop: Disabling drag and drop functionality can prevent users from dragging and dropping elements or content from your website, further securing your content against unauthorized usage.
Please note that implementing these measures may impact the user experience on your website. Consider the balance between usability and security before deciding to disable any of these user interactions.

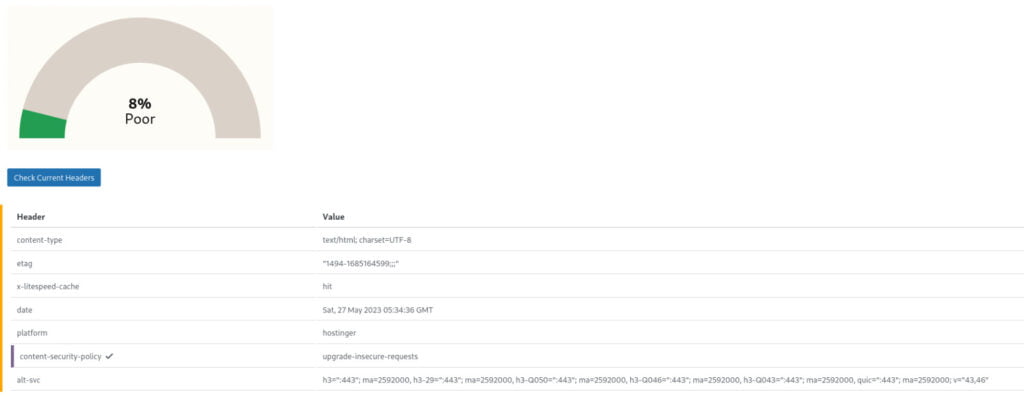
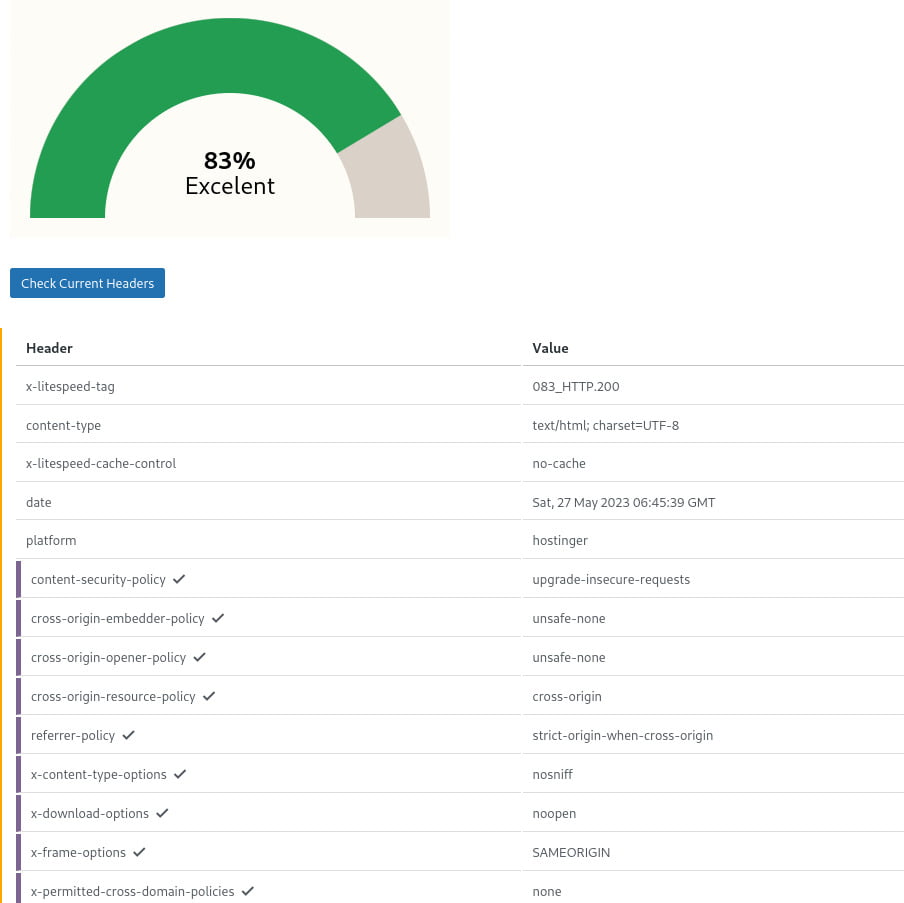
Security headers play a crucial role in enhancing the overall security of your website by providing instructions to web browsers on how to handle and enforce security policies during communication. These headers, sent by the server to the client (web browser), help protect against a range of web vulnerabilities and attacks.
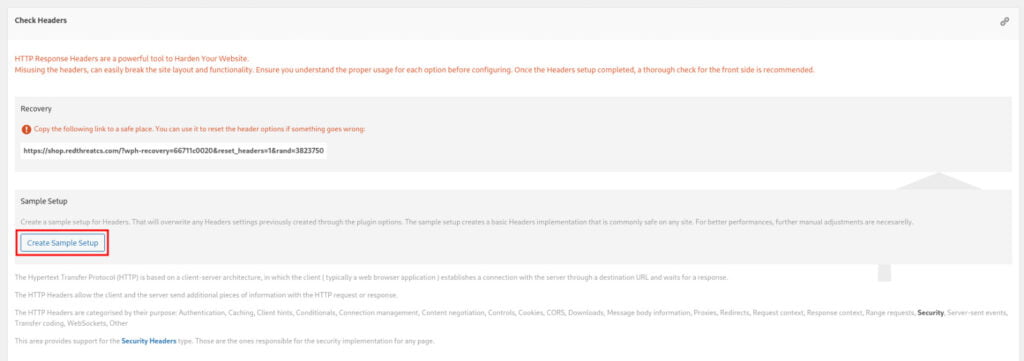
If an initial scan reveals that your security headers are not set correctly, you can start by creating a basic setup.
This can be achieved by clicking on the “Create Sample Setup” button within your security header configuration tool. The sample setup will generate a recommended configuration for security headers, ensuring that your website benefits from essential security policies and protections.
After creating a basic setup we get a 67% score.
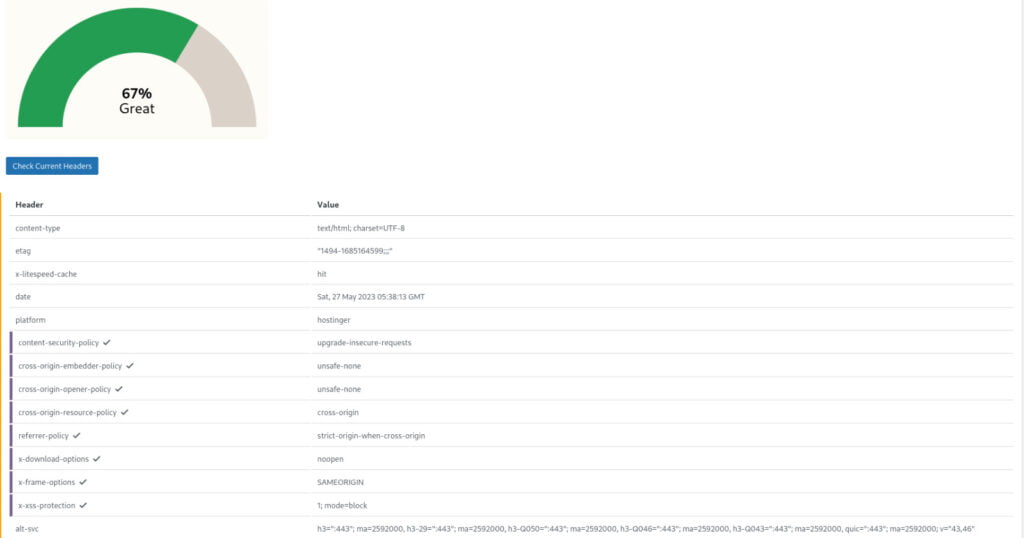
Once you have created a basic setup for your security headers, you may notice that your website receives a score of 67% in terms of security headers configuration. It’s important to note that certain security headers may only be available in the PRO version of the tool you are using, which could limit your options for further enhancing the security headers configuration.
Additionally, while activating additional security headers can improve your website’s security, it’s crucial to exercise caution. Some headers may have compatibility issues with certain functionalities or plugins on your website. Before enabling any new security headers, it is recommended to thoroughly test and ensure that there are no adverse effects on the functionality or user experience of your website.

For the security headers that are not activated by default, you can manually enable them by navigating to the respective tab in your security header configuration tool. By accessing the specific tab associated with each header, you can activate them based on your desired security requirements.
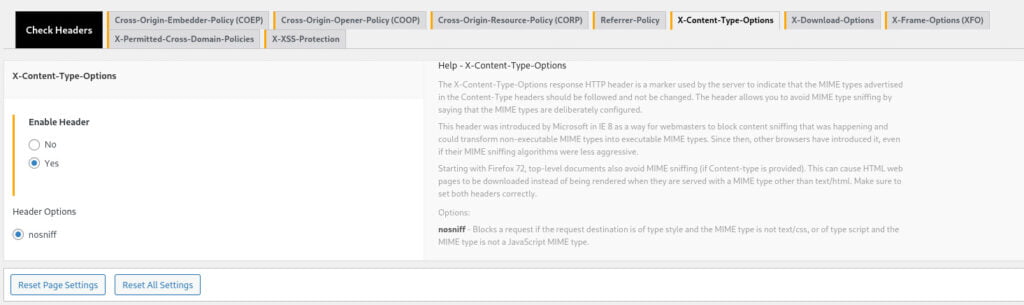
In the case of the PRO version headers, their activation typically involves modifying the .htaccess file. It is crucial to exercise caution and gain a comprehensive understanding of what each of these headers does before enabling them. Take the time to research and familiarize yourself with the purpose and potential impact of these headers on your website’s security and functionality. Bypassing and activating the PRO features is out of the scope of this blog post.
Understanding the implications of each header will help you make informed decisions regarding their activation. It is recommended to refer to the documentation or resources provided by the security header tool to gain a deeper understanding of the specific headers and their effects.
After activating the free headers, you can achieve a header security percentage of 83%, which demonstrates a significant improvement in your website’s security posture.
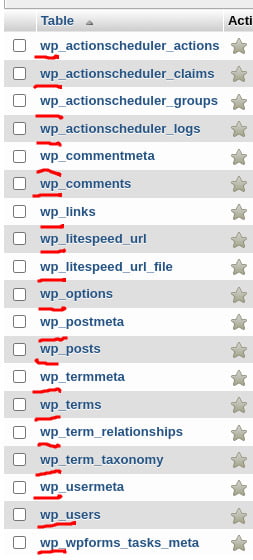
Moving on to the database, you have identified that every table has a wp_ prefix, indicating the usage of WordPress. It’s important to note that this information can be valuable to malicious actors, potentially making your website a target for attacks specifically targeting WordPress vulnerabilities.
To mitigate this risk and further enhance the concealment of WordPress, it is advisable to change the default wp_ table prefix to a custom prefix. By modifying the table prefix, you make it more challenging for attackers to identify the underlying CMS and potentially exploit known vulnerabilities associated with WordPress.
It’s crucial to perform this change carefully, as it involves updating the database tables and corresponding configuration files. Backup your database and consult reliable resources or documentation for the appropriate steps to safely change the table prefix. Ensure that you test your website thoroughly after making this modification to confirm that everything functions correctly.
So it is better to rename them to a different string.
1. First and foremost, we change the name in wp-config.php file:
1. $table_prefix = ‘wp_’; -> $table_prefix = ‘NEWPREFIX_’;
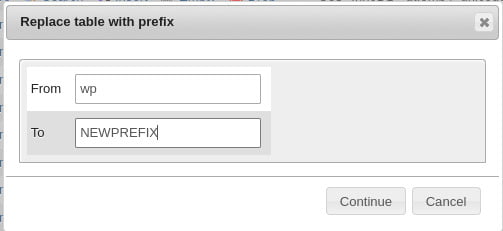
2. iN phpMyAdmin, select all the tables with wp_ prefix, then at the bottom, next to check all, click on “with selected” drop down and select “Replace table prefix”. There on the “From” filed write “wp” and on the “To” field write “NEWPREFIX”
Renaming the database table prefix to a different string is a recommended practice to further obfuscate the fact that your website is built on WordPress. To accomplish this, follow the steps below:
1. Open the wp-config.php file of your WordPress installation.
2. Locate the line that defines the table prefix:
$table_prefix = 'wp_';
Change it to your desired custom prefix:
$table_prefix = 'NEWPREFIX_';
Replace ‘NEWPREFIX’ with the prefix you prefer. Make sure to include the underscore (_) at the end.
3. Access phpMyAdmin
4. In phpMyAdmin, select all the tables that have the wp_ prefix.
5. At the bottom of the table list, next to the “Check All” option, click on the “With selected” drop-down menu and choose “Replace table prefix.”
6. In the “From” field, enter “wp” (without quotes).
7. In the “To” field, enter your new custom prefix (e.g., “NEWPREFIX”).
8. Click the “Go” button to initiate the prefix replacement process.
9. Once the operation is complete, verify that all the tables now have the new custom prefix.
update NEWPREFIX_usermeta set meta_key = 'NEWPREFIX_capabilities' where meta_key = 'wp_capabilities';
update NEWPREFIX_usermeta set meta_key = 'NEWPREFIX_user_level' where meta_key = 'wp_user_level';
update NEWPREFIX_usermeta set meta_key = 'NEWPREFIX_autosave_draft_ids' where meta_key = 'wp_autosave_draft_ids';
update NEWPREFIX_options set option_name = 'NEWPREFIX_user_roles' where option_name = 'wp_user_roles';

Press Go button.
Few more minor things. Now run the following SQL query by selecting the database
SELECT * FROM `NEWPREFIX_options` WHERE `option_name` LIKE '%wp_%'
SELECT * FROM `NEWPREFIX_usermeta` WHERE `meta_key` LIKE '%wp_%'


define ( 'DISALLOW_FILE_EDIT', TRUE );
This code defines a constant, DISALLOW_FILE_EDIT, with a value of true. It disables the theme and plugin file editors in the WordPress admin panel.
3. Save the wp-config.php file after adding the line.
By adding this line to the wp-config.php file, you effectively disable the file editing functionality within WordPress.
Congratulations on implementing all the available free features to enhance the security of your website! Achieving a security quality score of 67% is a significant improvement and demonstrates your commitment to protecting your WordPress site.
While there is always more that can be done to enhance security, the measures you have taken so far, including concealing WordPress-related information, implementing security headers, altering the database settings, and locking theme editing, have greatly reduced the visibility of WordPress and mitigated common attack vectors.
Remember that maintaining a secure website is an ongoing process. It’s important to stay informed about emerging security threats, keep your WordPress installation and plugins up to date, regularly backup your site, and monitor for any suspicious activity.
Consider periodically reviewing your security measures and exploring additional options, such as implementing a robust firewall, using a reputable security plugin, or considering the benefits of the pro version of WP Hide and Security Enhancer.
By prioritizing website security, you are taking proactive steps to protect your site, data, and visitors from potential threats. Well done on your efforts so far!